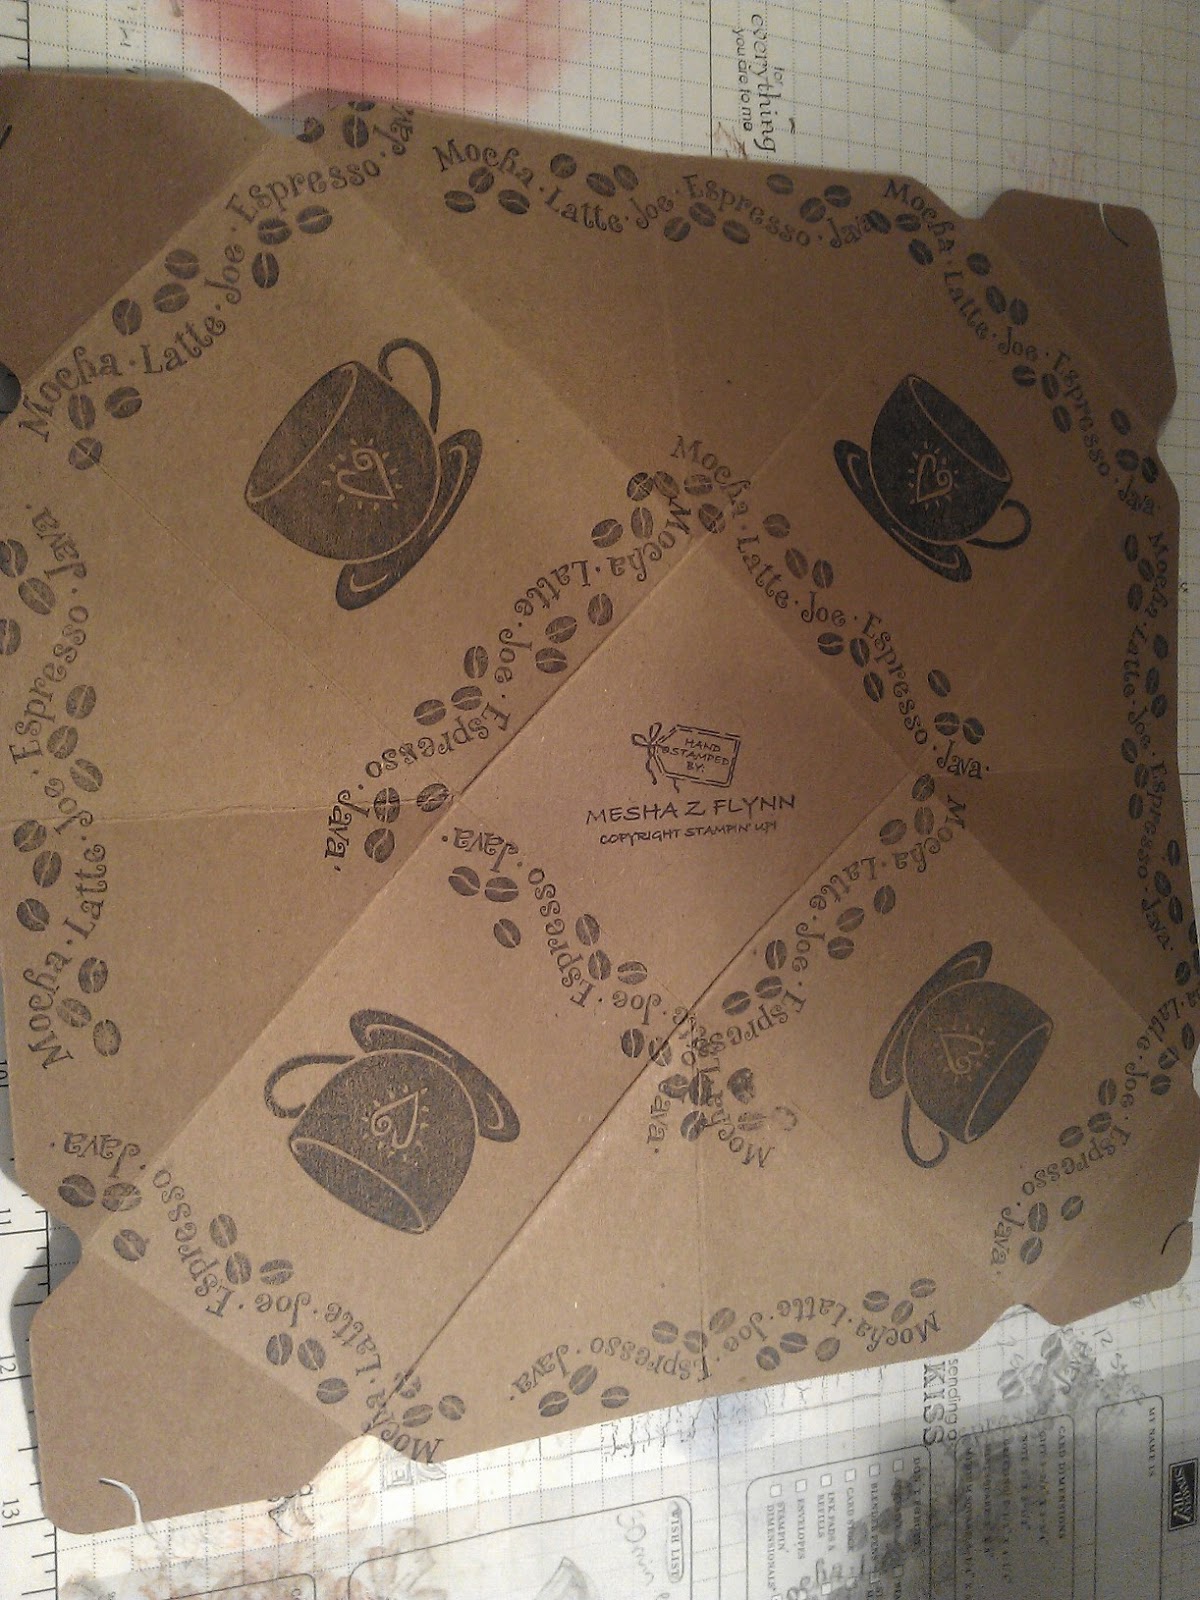
I started with Craft Card Stock and the Gift Box Punch Board from SU. You can see which box size I chose here.
This is what it looked like after following the instructions on the board and using a bone folder to crease all of the score lines really well. I wanted her to be able to store the box flat for reuse later so no adhesives were used on the flaps of the box.
I stamped a sentiment on the bottom of what the inside of the box would be. The set is called What's Brewin' from SU. It is a retired set but one I use often.
Then I flipped the card stock over and stamped along the bottom of what would be the outside of the box. Keeping in mind where the flaps will fold in allowed me to stagger the image a bit so it wasn't exactly the same on all sides.
Then I did the same thing around the top. It was then that I spotted a mistake (which is what happens when you craft at 2am). Can you find it? I would have started over or found a way to cover it, but she's always telling me things don't have to be perfect. =P
Then I added the cup image from the set. At this point I really resisted the urge to add glitter. I didn't want to wait for it to dry.
The box was made to hold this but I threw some chocolates in with it. I know how much she likes the mocha. She's a Mocha Momma, but if pumpkin spice is available she'll take that too.
It's perfectly cute without the bow. But this is me and I can't leave things alone. Every time I start a project I have to argue myself out of more steps. I'm still thinking about the glitter.
Here it is again with the bow. Now the bow will act as a "belly band" incase the tabs on the top don't hold up. She doesn't have to untie it, just slide it off and store it with the box for future use. (Glitter on the cup?) (Ugh! Should've added swirls, but she likes her coffee cold, so?)
Please comment. Let me know what you think or if you have any questions.
BE A BLESSING & BE BLESSED


No comments:
Post a Comment
While I love your feedback, all comments are subject to moderation.