Showing posts with label lunch sack. Show all posts

Sunday, October 12, 2014

Pumpkin Goodie Bags

I was asked to make some more goodie bags so I went with a pumpkin theme.


 First I colored on the stamp itself with the markers and then stamped the image.  After that I used the water color pencils to color in the pumpkins.  After that I punched the images out with a circle punch and sponged the edges with olive colored ink.


Second I cut pieces of Dusty Durango cardstock and used these little embossing folders on them.  No I did not really measure anything, I'm really bad about just "eyeballing" stuff.  Then I  rounded the corners and sponged the outer edge of the cardstock with the Soft Suede followed by adding the Old Olive in a little further.  Also, the Old Olive was used on the embossed image.


Third the image was stamped all over the lunch sack.  No pattern, just random stamping.  Stamping off the edge adds to the project.  Easy stuff here crafters!


Fourth the top was added.  This picture is before all the goodies were added to the inside.  I wasn't too worried about these being reused so I just stapled them shut.  However, it would be super cute to use some twine or raffia to close it up.


These are so easy to make and change up for any occasion. Feel free to offer suggestions or ask questions.  I hope you've been inspired!

Thursday, October 9, 2014

Apple Bags For Teachers


Here's a really simple idea that is extremely versatile.  I do this often so you'll see several variations on this blog.  These were for some fabulous teachers I know.


1. I started by using the a wheel stamp.  I think this one is from the Crayon Kids line from Stampin' Up!  I don't have the inks that go inside of the handle so I just roll it over the ink pad several times and then roll away.  Diagonal lines are more forgiving if you're not using a wheel guide, which I rarely do.


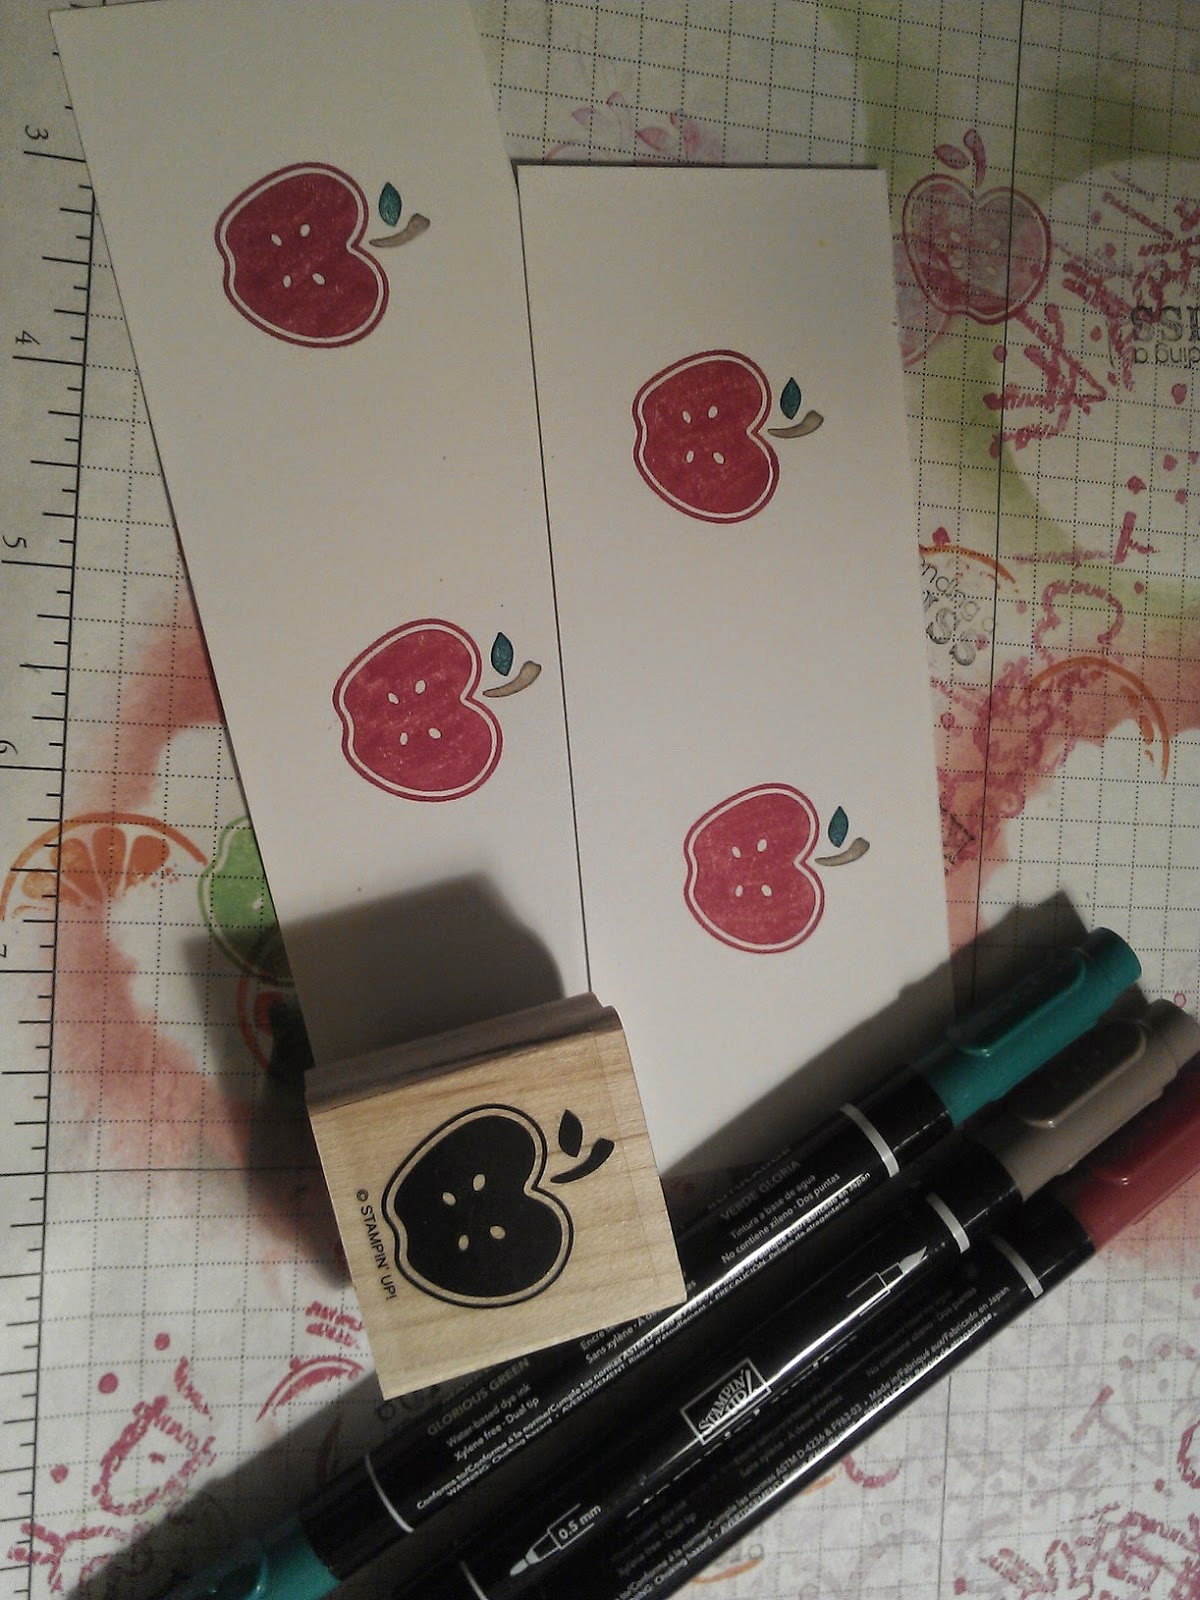
 2.  Then I used the apple from the Tart and Tangy set to stamp red apples on the other bag.  No pattern, just lots of randomness.


3.  Then I used the brush tip markers to color on the cleaned stamp. Huff (breathe) on the stamp to re-moisten any ink and then stamp.  This was repeated for each image.


4.  Then I colored the images with a VersaMarker and coated them with clear embossing powder.  Then I used a heat gun (hair dryer does not get hot enough) to set it. *shiny*


5.  Then I punched out the images with a circle punch and layered them on scallop flowers punched out of red cardstock.  I used a small hole punch to punch holes in the "petals" of the scallop.


6.  Then I cut pieces of red cardstock slightly larger than the paper bags and folded them in the middle. No measurements, honestly I just "eyeballed" it.  The same goes for the white.  I did round the corners on the white pieces.  Then I used the Stamp A Ma Jig to line the wording up.  I don't remember the name of the stamp set at the moment.


7.  The bags were filled were various goodies.  For these I chose a roll of stickers (teachers love stickers), a pack of thank you cards, a pack of student reward cards, and an altered notepad.


I thought I'd be able to use the Top Note die cut pieces for this, but I changed my mind. Hey, it happens. =)


8.  I wanted the recipients to be able to reuse these so I punched holes and tied them close with ribbon.  Staples and glue are fine as well.


And here's the final product!