Thursday, October 30, 2014

Fall Gift Box

Here's some fall gift boxes made using the Gift Box Punch Board from Stampin' Up!  I tried to design something that could be reused once the recipient enjoyed their gift. 


I gave this one to another crazy cat lady.  In it were 4 little toy mice.
 
 
Once I decided on the dimensions I wanted and punched and scored the Groovy Guava cardstock this is how I decorated it:


I stamped a greeting in the middle of the inside.  The set is called Country Blessings that Stampin' Up! sold in 2006.  I stored this one flat until I was ready to use it, so no adhesives were used.


Then I began stamping on the outside.  I chose a random leaf pattern keeping in mind the direction the box would sit once assembled.


While stamping I used different colors of ink.  I started with the lightest, inking the whole image.  Then I inked the edges with the darker color. 


They come together like this.  At this point you could clip and adhere the inside flaps but I chose to leave them.  My bone folder got a good workout.


I chose a scrap of Close to Coco cardstock long enough to wrap around the box for a "belly band."  I really didn't think to measure because I just wrapped it around and then scored the folded areas.  The acorn is from the same set as the leaves and is stamped in the Early Espresso Ink. 


Okay it was an afterthought.  I'm terrible at remembering to measure things. But you get the idea of the thought process (or lack of).


Here's the leaf colors used on the whole box.  Here I used a strip left from making the box to make an embellishment for the top.  It's one leaf stamped twice.  Then I covered it with glitter glue.  This made the color of the cardstock slightly darker, much like Versamark ink does.  Then I cut them out together with scissors.  The glue on them made them stiff but pliable, allowing me to shape them.  This made the glitter really sparkle! *shiny*


In the set is a tiny stamp that says "Blessings."  I stamped that with the Early Espresso.  Then I used these three punches.  These get used so much I rarely put them away.  I used a paper piercing tool on the scalloped edge of the base oval.  That was adhered to the "belly band" with Dimensionals (foam dots).  Then glue dots were used to adhere the twine bow and leaves. 


The photo does not give the glittered leaves justice.  This one was just right to put a fall scented votive candle it for a sweet friend. Ironically, when I gave it to her she had a cold and couldn't smell the pumpkin spice. =(

Let me know if you have any questions. 

 Be a blessing & Be blessed!

Wednesday, October 15, 2014

♥ Carol's Christmas Cards ♥


♥ Carol's Christmas Cards ♥

She handed me a box of papers she found while cleaning out her mother-in-law's estate asking me to put them to good use.  So, I did.  Then handed these back to her.
 
I'll note supplies used when I can remember what was used.  Be sure to leave a comment if you have any questions about anything. 


I used the Big Shot to cut the layers out with the Famelits Labels Collection from Sizzex. The edges are sponged with Soft Suede ink. Studio G glitter glue was added to the pine cone. *Shiny* 
The ink bled just enough to enhance the image.  I used a Stamp-A-Ma-Jig to line the words up.  Again the edges are sponged with the Suede ink.  The "noel" tag is handwritten and hand cut.

The paper is from Paper Pizazz. I'm not sure what brand the cardstock is.  The pine cone set is one a friend gave me and it has no maker labeled on it.  The wording is from a Stampin' Up! set.  I can't remember where the cord came from.


Again the patterned paper is from Paper Pizazz.  A Big Shot was used to cut the ovals out using the Framelits Ovals collection from Sizzex.  I cut the ovals out of the patterned paper and the white, but the olive is an oval ring.  This makes the card look layered but it's really flat.  This means no extra postage!  =)


I used gold and red glitter glue on these. *Shiny*


The images are all from Stampin' Up!  Greetings Galore for the tree, Delightful Decorations for the "shine" of the star, Ornamassortment for the ornament on the inside, and Many Merry Messages for the wording.             


All of the images from these are from Merry Crittermas set from Stampin' Up!  They're stamped in black StazOn ink and then colored in with Prisim water color pencils and an Aqua-painter


 On this one a Martha Stewart snowflake border punch was used.  Some of the punched out snowflakes were flipped over exposing the blank side and adhered to the front as an accent.  Copy paper was used to line the punched out portion.
 
 
Here's a variation where I wanted to see what the patterned paper would look like embossed. I didn't think it was acceptable so I turned it over and used the blank side.


On this variation the edges of the base (green) were sponged with Whisper White ink.  The tag was made using the Small Tag Punch from Stampin' Up! and the wording comes from the Merry Minis set also from SU.  The edge of the tag is and the word are embossed with white embossing powder.


On this variation a light brown card stock was used and the same embossing folder as before.  The green baker's twine came from the dollar section at out local craft store.  The snowflake embellishment is just another one from the punched borders. 


This is how you solve the issue of the twine rolling off the desk.
One of my supervisors
 stopping by to check the work.


Creativity is a messy process.
Just keeping it real for ya!


THESE ARE ALL ORGINAL IDEAS.  Feel free to copy and share, but please give proper credit.  Also, feel free to share any you've made using these as inspiration. 

MERRY CHIRSTMAS!

Sunday, October 12, 2014

Altered Notepads 10-5

USE UP ALL THE SCRAPS!....   That's the mission lately.  These are some more altered notepads that are comprised of nothing but scraps.  My Oddball Kid loves the mixed media feel of them even though they're really not mixed media.


If your scrap pile is growing maybe it's time to try some altered notepads of your own.  I would love to see what you come up with.  I hope you were inspired.

Be a blessing and be blessed!


Pumpkin Goodie Bags

I was asked to make some more goodie bags so I went with a pumpkin theme.


 First I colored on the stamp itself with the markers and then stamped the image.  After that I used the water color pencils to color in the pumpkins.  After that I punched the images out with a circle punch and sponged the edges with olive colored ink.


Second I cut pieces of Dusty Durango cardstock and used these little embossing folders on them.  No I did not really measure anything, I'm really bad about just "eyeballing" stuff.  Then I  rounded the corners and sponged the outer edge of the cardstock with the Soft Suede followed by adding the Old Olive in a little further.  Also, the Old Olive was used on the embossed image.


Third the image was stamped all over the lunch sack.  No pattern, just random stamping.  Stamping off the edge adds to the project.  Easy stuff here crafters!


Fourth the top was added.  This picture is before all the goodies were added to the inside.  I wasn't too worried about these being reused so I just stapled them shut.  However, it would be super cute to use some twine or raffia to close it up.


These are so easy to make and change up for any occasion. Feel free to offer suggestions or ask questions.  I hope you've been inspired!

Thursday, October 9, 2014

Altered Note Pads

I have embarked on a mission.  Use up ALL of the scraps.  These little note pads were a good start.  I know the workspace is a disaster but hey, creativity is messy!


1.  I found these at the Dollar General for a dollar each.  I used a scrap of white cardstock to figure out the measurements.  They're marked in the picture. 


2.  I used these leftovers, as well as many others, of projects from long ago.  Yes this is where I got the ideas for the Apple Bags topper.  I know the cherries are from the Tart and Tangy set from Stampin' Up! but I don't remember the name of the set the coffee cup comes from.  I borrowed it for some invitations I made more that 5 years ago. Yep, I'm a hoarder.


Hmmm...  Which layout should I go with?.....

Seriously, some of this stuff has been sitting in drawers for years.  This paper is what is left from an aquarium background.  But that's another post.

I think I colored this with the brush tip markers.


3.  On this one I used the Scallop Boarder punch from Stampin' Up!  The little word is leftover from a scrapbooking kit.  I don't even know the name anymore.

These were way too easy not to make more!

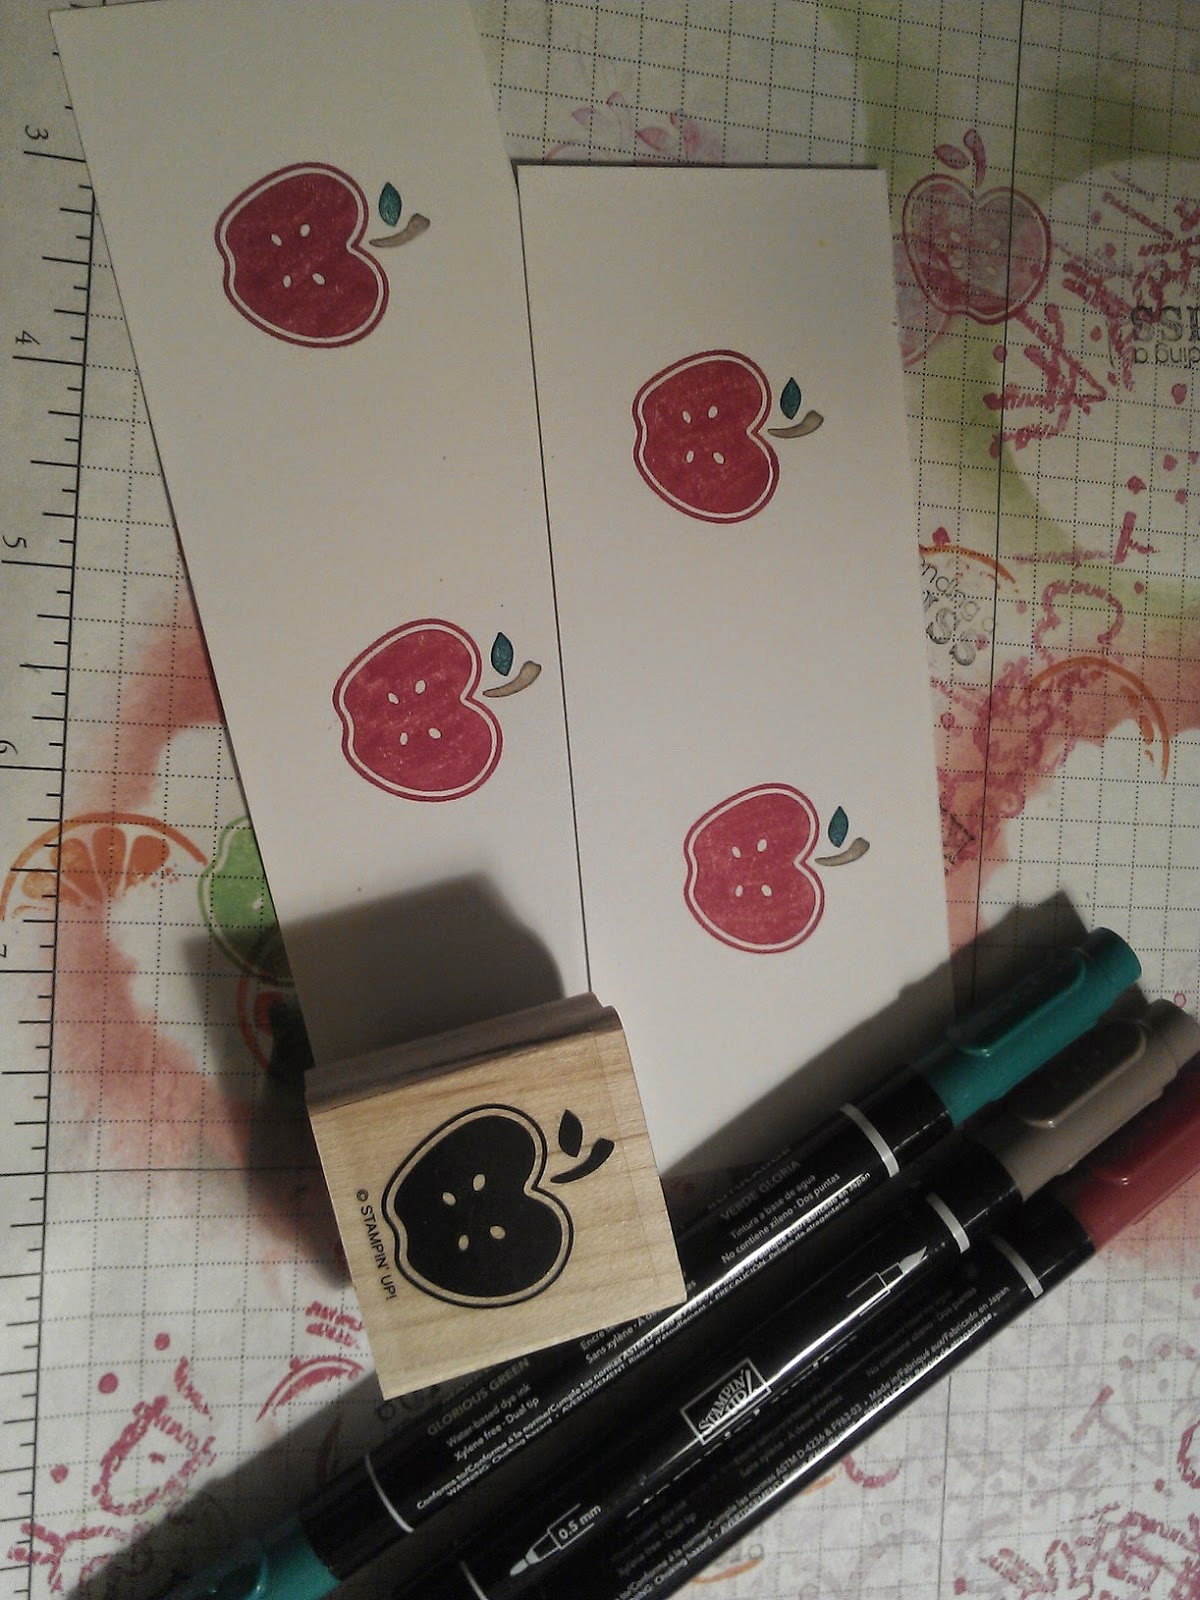
Apple Bags For Teachers


Here's a really simple idea that is extremely versatile.  I do this often so you'll see several variations on this blog.  These were for some fabulous teachers I know.


1. I started by using the a wheel stamp.  I think this one is from the Crayon Kids line from Stampin' Up!  I don't have the inks that go inside of the handle so I just roll it over the ink pad several times and then roll away.  Diagonal lines are more forgiving if you're not using a wheel guide, which I rarely do.


 2.  Then I used the apple from the Tart and Tangy set to stamp red apples on the other bag.  No pattern, just lots of randomness.


3.  Then I used the brush tip markers to color on the cleaned stamp. Huff (breathe) on the stamp to re-moisten any ink and then stamp.  This was repeated for each image.


4.  Then I colored the images with a VersaMarker and coated them with clear embossing powder.  Then I used a heat gun (hair dryer does not get hot enough) to set it. *shiny*


5.  Then I punched out the images with a circle punch and layered them on scallop flowers punched out of red cardstock.  I used a small hole punch to punch holes in the "petals" of the scallop.


6.  Then I cut pieces of red cardstock slightly larger than the paper bags and folded them in the middle. No measurements, honestly I just "eyeballed" it.  The same goes for the white.  I did round the corners on the white pieces.  Then I used the Stamp A Ma Jig to line the wording up.  I don't remember the name of the stamp set at the moment.


7.  The bags were filled were various goodies.  For these I chose a roll of stickers (teachers love stickers), a pack of thank you cards, a pack of student reward cards, and an altered notepad.


I thought I'd be able to use the Top Note die cut pieces for this, but I changed my mind. Hey, it happens. =)


8.  I wanted the recipients to be able to reuse these so I punched holes and tied them close with ribbon.  Staples and glue are fine as well.


And here's the final product!


Saturday, September 20, 2014

Pumpkin Punch Art


I can't grow real pumpkins so I made paper ones.


Step 1: 


Punch out five ovals from orange cardstock of your choice.  I used Dusty Durango from Stampin' Up!


Step 2:


Sponge the edges with a slightly darker ink.  I found Cajun Craze worked well with this project.


Step 3:


Layer and glue two pairs of ovals like shown.  Using a liquid glue allows a little time to move the pieces around until you're happy with their look.


Step 4:


Layer and adhere the two pairs of ovals like this.  I like to make bring them a little closer together at the top.


Step 6:


Layer and adhere the last oval on the two pairs.  Remember, you can shift the pieces around until the look is pleasing to you.


Step 7:


Cut a stem from green cardstock.  I used Old Olive from Stampin' Up! here.  No pattern was used, it was just a random freehand cut.  Several attempts were made to get one that I was pleased with.  Then sponge the edges with a brown ink.  Soft Suede was used here.


Step 8:


Adhere the stem to the back of the pumpkin.  Then, using the same green, cut a thin strip.  Use something small to curl the strips.  There's not certain way to do this.  Just play with it until you are pleased with the way it looks.


Step 9:


If you cut it down the middle and stop cutting as you get to the bottom you'll have a space to add your glue.  But before you add the glue, hold it up to your pumpkin and decide how and where you would like it to be.


Step 10:


You sponge more ink on the bottom of the pumpkin to add more shadow on the bottom if you like.  Use different punch sizes to get vary the sizes of your pumpkins.  Remember that no two pumpkins look the same and they're often lop sided.  The same goes for the little curls.  Scrunching them looks cute too.  This is a very forgiving project.


Did you enjoy a pumpkin spice latte or tea while you made these?    =)